
Creating the Gallery of Your Dreams: Here’s What to Do With Your Updated Family Pics
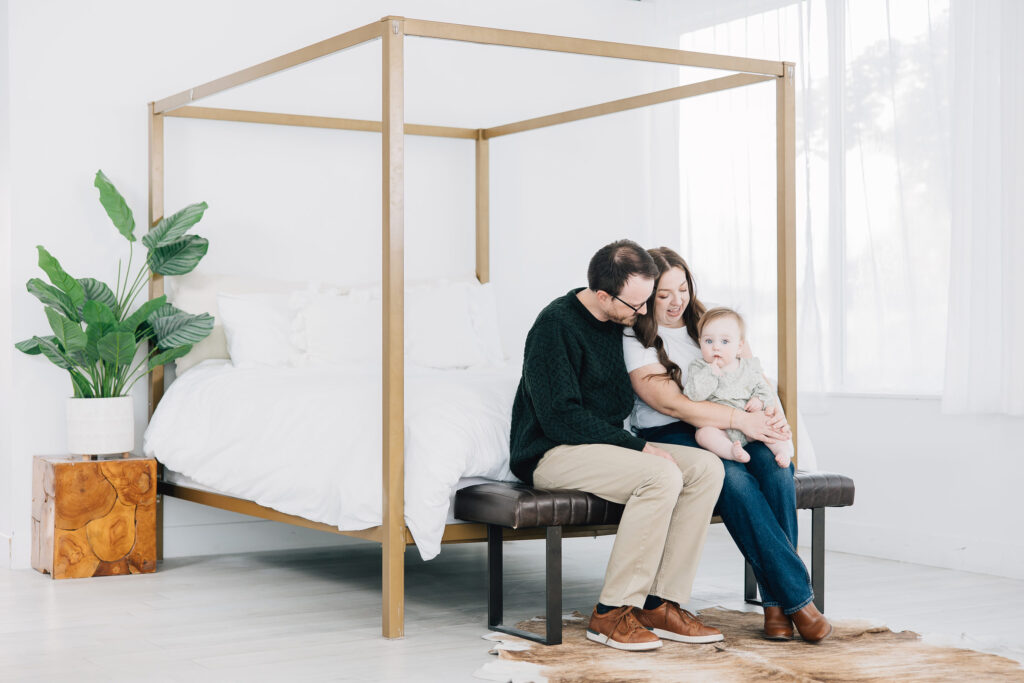
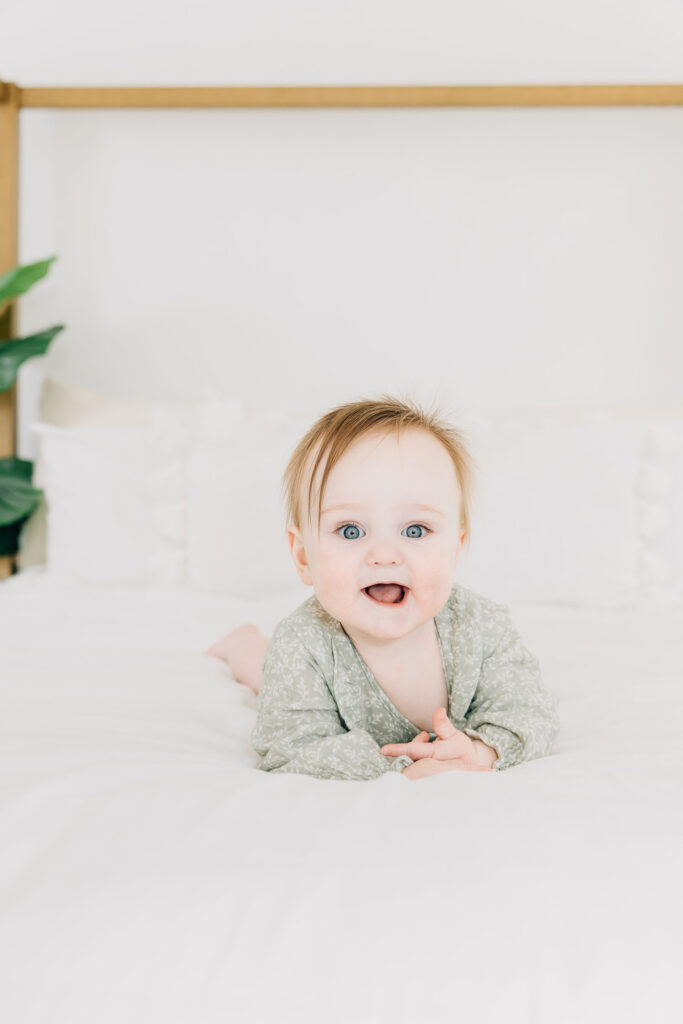
This will come as no surprise, but I am a big fan of getting physical copies of your family photos. Especially if you’ve recently updated your pictures! Getting your photos taken is no small task, so celebrate that accomplishment by displaying them in a place where your family can enjoy them.
The most typical uses of physical family photos are things like Christmas cards and photo albums, which is a fantastic way to give them life outside a screen. However, I think there is something so beautiful about displaying your family photos within the walls of your home. Updated pictures add a fresh feel to your home as the seasons change and give your children an added boost of confidence from seeing their happy faces adorning your walls.
Doesn’t that sound like an all-around win?
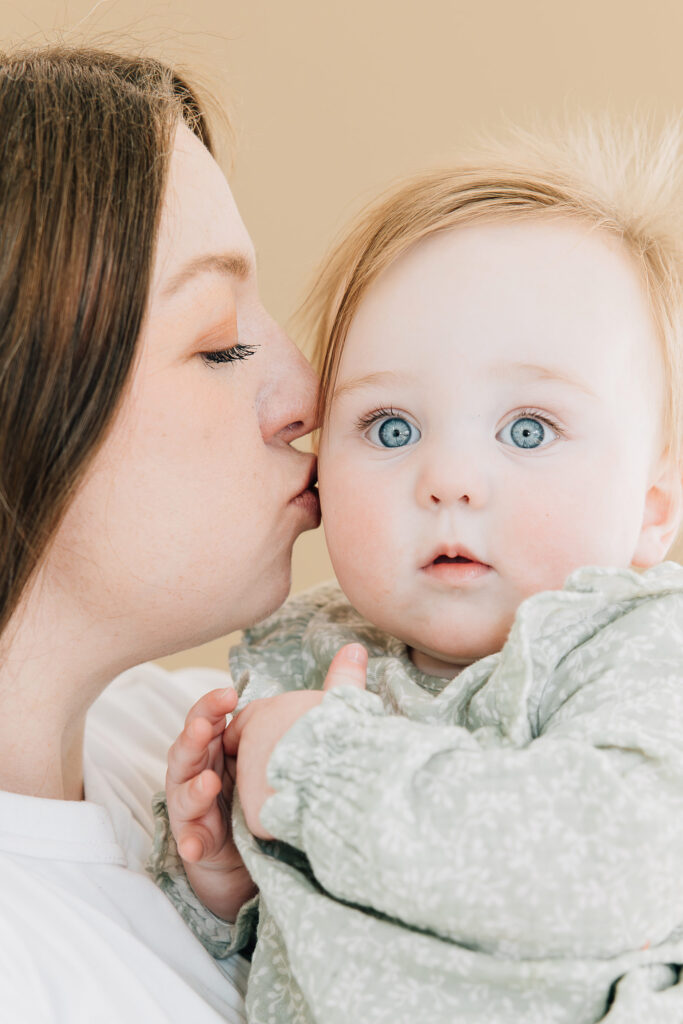
Once you’ve decided to hang your photos throughout your home, it’s a good idea to take inventory of your spaces before you print anything off. Walk in each area and think about any wall or shelf space that might need an updated family photo. Some ideas might include your living room, hallway, game room, home office, or kids’ rooms.
After you’ve covered all the areas inside your house, consider some options outside of the home. Do your kid’s grandparents have a grandkid wall? Maybe you or your spouse would like to display photos of your family in a workplace office. Both of these spaces can be meaningful tributes to your kids and family.
Now that you have an idea of where your updated photos will go, you will want to figure out what size photos to order. This five-step guide will help ensure the display turns out exactly how you want it. This is especially great for gallery walls!
- Take a photo of the blank wall. Make sure you are utilizing natural lighting and that your phone or camera is lined up straight.
- Measure the dimensions of the space. You’ll want to get a good idea of the size of the entire area you’re working with. Write everything down so you don’t forget it!
- Draw on your phone or laptop where each photo should go. For reference, here is a good place to double-check common frame sizes.
- Create a life-size mockup on your wall. Use painter’s tape or butcher paper to measure out the exact sizes of your photos and play around with the arrangement until you land on something you love.
- Order your images! If you’ve taken photos with me, you can order high-quality photos through your online gallery. (I talk all about how to do that in this blog post.)
Hot tip: Utilize square frames instead of horizontal and vertical ones! This makes planning a photo display so much easier, and the result looks so beautiful.
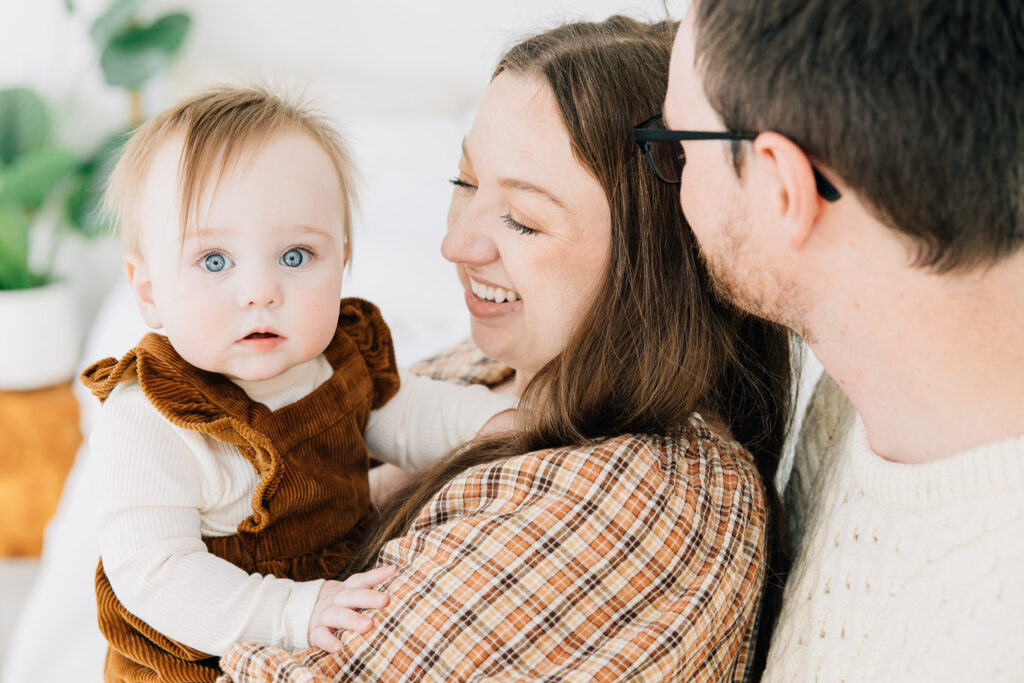
I love helping my clients choose which of their photos to send to print! So whether you’re printing a dozen photos for a large gallery in your living room or filling a few small frames for your mantle, looking at physical copies of your family photos will bring so much happiness to your home. It may take a few extra steps to get everything just right, but you and your kids will be so grateful in the long run.


Leave a Comment
Leave a Reply


Meet kailee

MEMPHIS FAMILY PHOTOGRAPHER
As someone who wears a lot of hats (wife, momma, nurse, and photographer). I know that those once in a lifetime moments can truly fly by. My mission is to capture those beautiful moments so that you can come back to them years down the road and relive them! The best way to do that if to find out who YOU are and what type of moments YOU treasure the most.
Wanna meet me? I love my cute family, making yummy bread, and going to Costco and Trader Joes!
And I can't wait to get to know you!
I’m Kailee
send me my guide
A lot of moving pieces go into planning a wedding day timeline and we know it's easy to feel like a hot mess! Grab our free guide to plan the perfect timeline for your day.
Stress-Free Wedding Day Timeline
FREE GUIDE: 5 Tips for A

free guide!


Comments